Images in SEO Content
Images
Images add a visual stimulus and aspect to your post. Not everyone has a vivid imagination, so adding pictures helps the reader better understand what is in your content.
In this guide, we will cover everything you need to know about how to add pictures and when to add them so that you have a clear understanding of the process.
NB: It’s important to take extreme care when sourcing and adding images; using a copyrighted image or not providing proper accreditation can result in fines and penalties. In this guide, we’ll discuss the copyright information for each method of finding images.

Where to Find Images
Images are an integral part of your SEO content. But with copyright protection, it’s important that you know you are using images that won’t get you into trouble.
Royalty-Free
These sites allow you to download and use images for free. Some may require that you credit the photographer, but many are completely free—there are no requirements.
When using these sites, be sure to check the terms and conditions to make sure that you’re not going against the rules. It’s also a good idea to keep a record of where you found each image in case you need it for proof later.
Our two favorite royalty-free sites are Pixabay and Unsplash.
Paid Stock Images
Free images can become stale, and you’re limited in what you can find. In these instances, it sometimes pays to buy images from paid sites. We suggest using a site like Deposit Photos, which has reasonable prices and a wide selection of images—especially for travel websites.
Tip: We found Deposit Photos to be the most affordable option in paid stock image sites.
How Many Images Do I Need?
The point of images, especially in travel writing, is to keep the reader engaged. Nobody wants to look at a wall of text, never mind actually read it. So we break up the text with relevant images to make it more appealing to the eye.
As a general rule, especially when working on travel content, keep to at least one image every 100 – 200 words.

Image Sizing
You’ll need to make sure your images are sized correctly, both in pixels and in file size.
File Size (KB)
KB (kilobytes) is your file size. This determines how much space the image will take up on your website and how long it’ll take for the image (and, therefore, the page) to load. For this reason, we suggest images that are more than 200KB.
On very rare occasions, you may need a higher KB image to achieve good quality. But if you find good-quality images, you won’t have to worry about this.
Pixels (height & width)
The dimensions of your image are measured in px (or pixels). The width is the most important aspect when sizing your image, and images should be as uniform as possible (all with the same width). This helps keep the reader’s eyes focused as they scroll down the page.
Most blogs that are not full screen are around 800px—1000px wide, and full screen is often about 1200px—1500px.

How To Choose Images
Choosing the right kind of image plays a major role in the quality of your post.
#1 Relevance
Relevance is key when adding images to your post. Your images need to convey the same message as your copy. For example, we don’t want a picture of a baby on the beach if we’re writing about the best honeymoon beach vacations.
#2 Quality
You can see if an image is blurred, especially when dealing with Instagram pictures. When downloading images from anywhere, you’re looking for high-quality images that will enhance the post’s look and feel.
#3 Make Sure It’s Visually Appealing
Images give life to a post and are often key to attracting people to your article and keeping an audience engaged in its content.

Naming Your Images
When it comes to naming images, we use a certain format for uploading to the web. This format makes it easy for us to identify, on the backend of the website, where the image was used and what it is for.
Formatting Image Names
Two rules apply when naming your images for online:
1) Never use spaces. Instead, use dashes in between words.
This is because once online, spaces aren’t seen by the web and are replaced by strange symbols, which isn’t good for your website.
2) When naming your images, be as descriptive as possible.
So, instead of saying something like ‘cape-town-beach’, you will instead give the name of the actual beach, such as “camps-bay-beach”. This way, your images are more user friendly.

Optimizing Images – PNG/JPEG to WebP
WebP is a modern image format developed by Google that offers superior compression for images on the web. It provides both lossless and lossy compression, meaning it can maintain the image’s high quality while reducing the file size significantly compared to traditional formats like JPEG and PNG, which can only be reduced in size through lossy compression. When you’re optimizing your website, converting your images to WebP format is essential for so many reasons.
Here’s why you should consider using WebP images instead of JPEG or PNG on your website:
Reasons Why WebP Images Are Beneficial to Your Website
There are plenty of reasons why you should use WebP images on your website. In summary, it’s great for SEO and improves the overall user experience. Let’s get into the details.
Faster Loading Times
One of the most compelling reasons to use WebP images is their smaller file sizes. WebP images are usually 25-34% smaller than JPEGs and even more so compared to PNGs. In short, smaller images load faster, which enhances your website’s overall speed. This results in a better user experience and improved search engine rankings, as page speed is a known factor in SEO.
Improved User Experience
Faster loading times directly translate to improved user experience. Websites that load quickly keep users engaged and reduce bounce rates. Using WebP images to deliver high-quality visuals in smaller sizes helps create visually appealing content without compromising the website’s performance.
Better Image Quality
As we’ve already mentioned, WebP offers better image quality at lower file sizes. Lossy WebP images provide better quality at smaller sizes compared to JPEGs, while lossless WebP images are smaller and better than PNGs. This allows for crisp, clear images that don’t detract from the user experience or the aesthetics.
Less Bandwidth Usage
Smaller image sizes mean reduced bandwidth consumption, which is great news for both website owners and visitors. For website owners, this means lower hosting costs and less strain on server resources.
Think about it: if every post has 10 images, you’ll have 100 images on your site in no time, and when those images are JPEGs or PNGs, it won’t take long for your site to start feeling the strain. For visitors, especially those on mobile networks with data limits, WebP images help save data while providing a seamless browsing experience.
Versatility
WebP supports transparency (like PNG) and even animations (like GIF), which means it’s an incredibly versatile choice for various image types on the web. This flexibility allows designers and developers to use a single format across the board, simplifying workflows and reducing the number of formats a website has to handle.
Browser Support
Initially, WebP was supported only by Chrome and a few other browsers, but those days are long over! Now it’s widely supported across most modern browsers, including Firefox, Edge, Brave, and Safari. This broad support means you can confidently use WebP images, knowing they will render properly for all of your visitors.
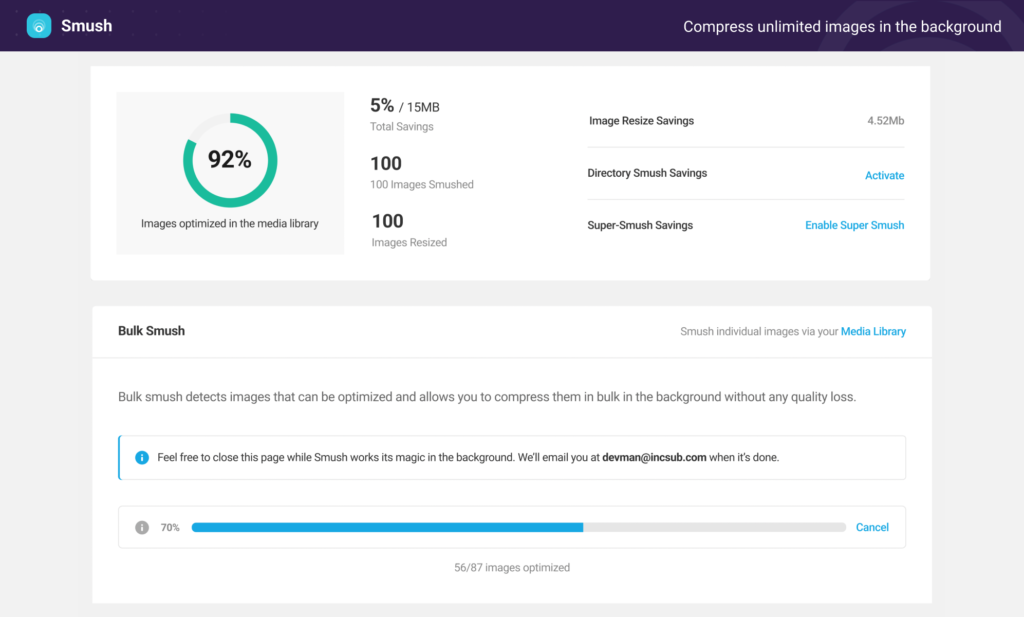
Best WebP Image Conversion Plugins for WordPress
Good news! You don’t have to manually convert all your existing media files to WebP format. There are plenty of great plugins for WordPress that’ll do all the hard work for you. These plugins offer both free and paid versions depending on the level of media optimization you need. Here are a few of our favorites.